
how it works
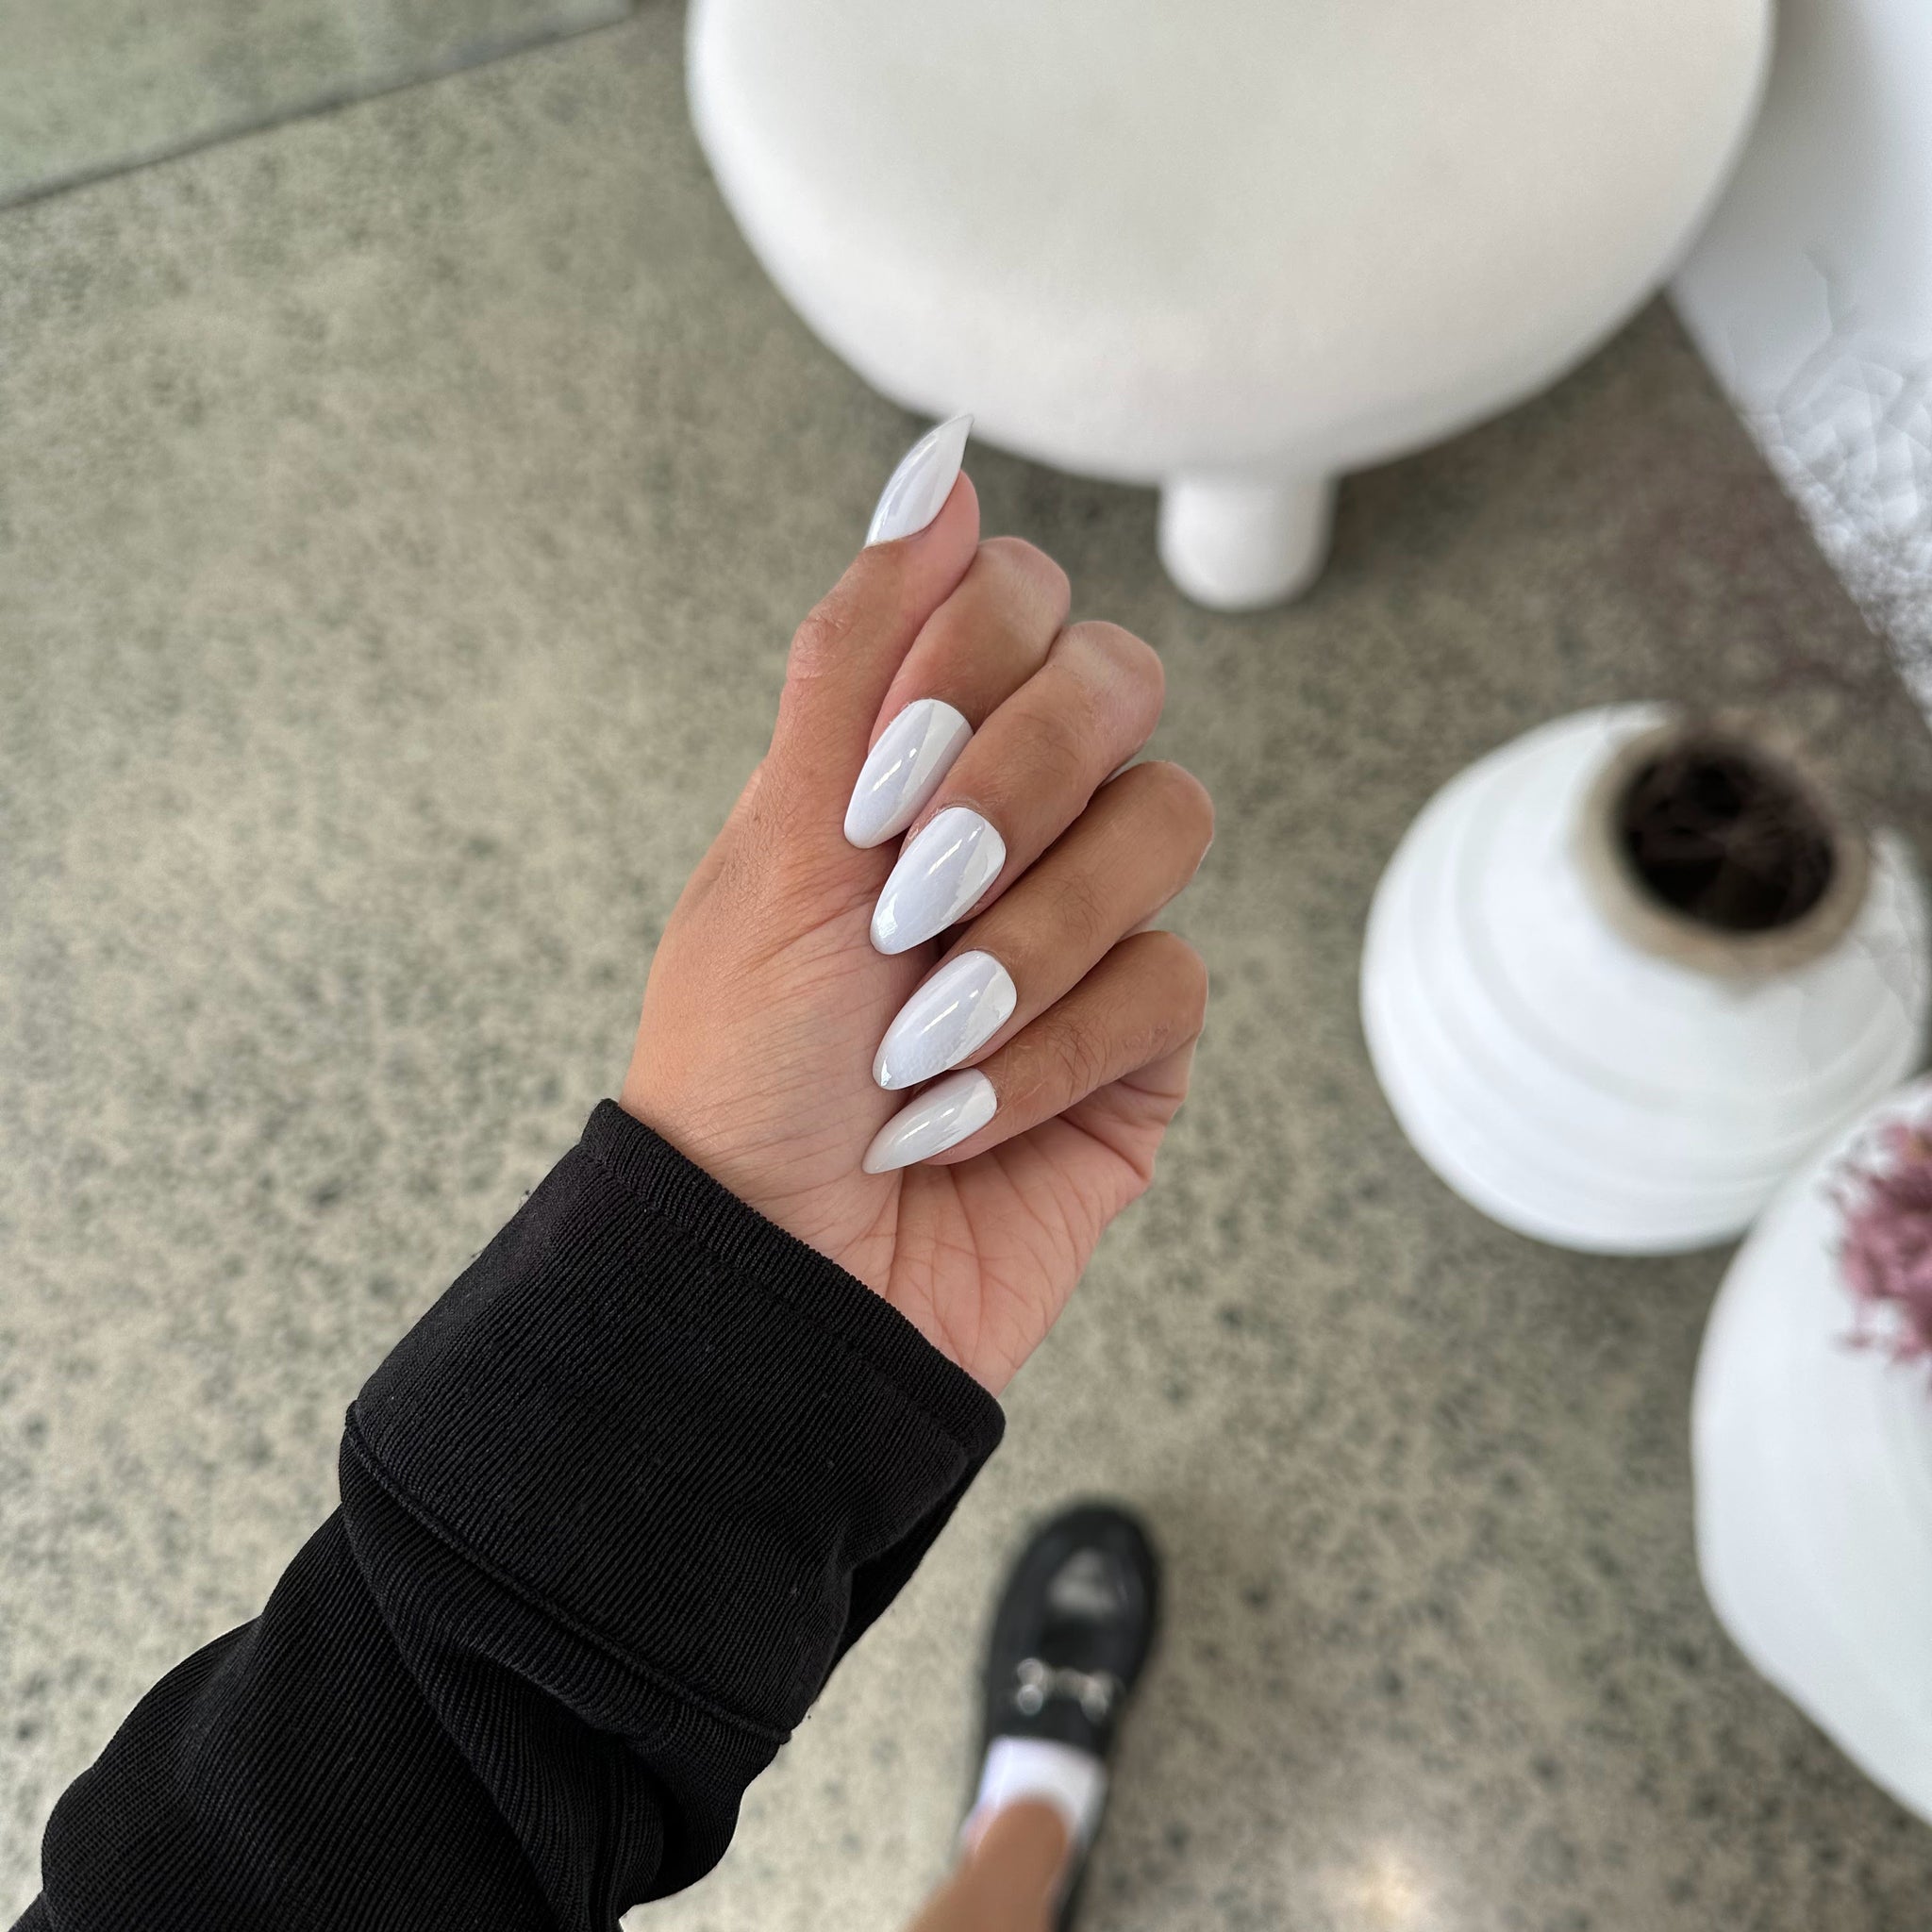
Salon-style nails in minutes
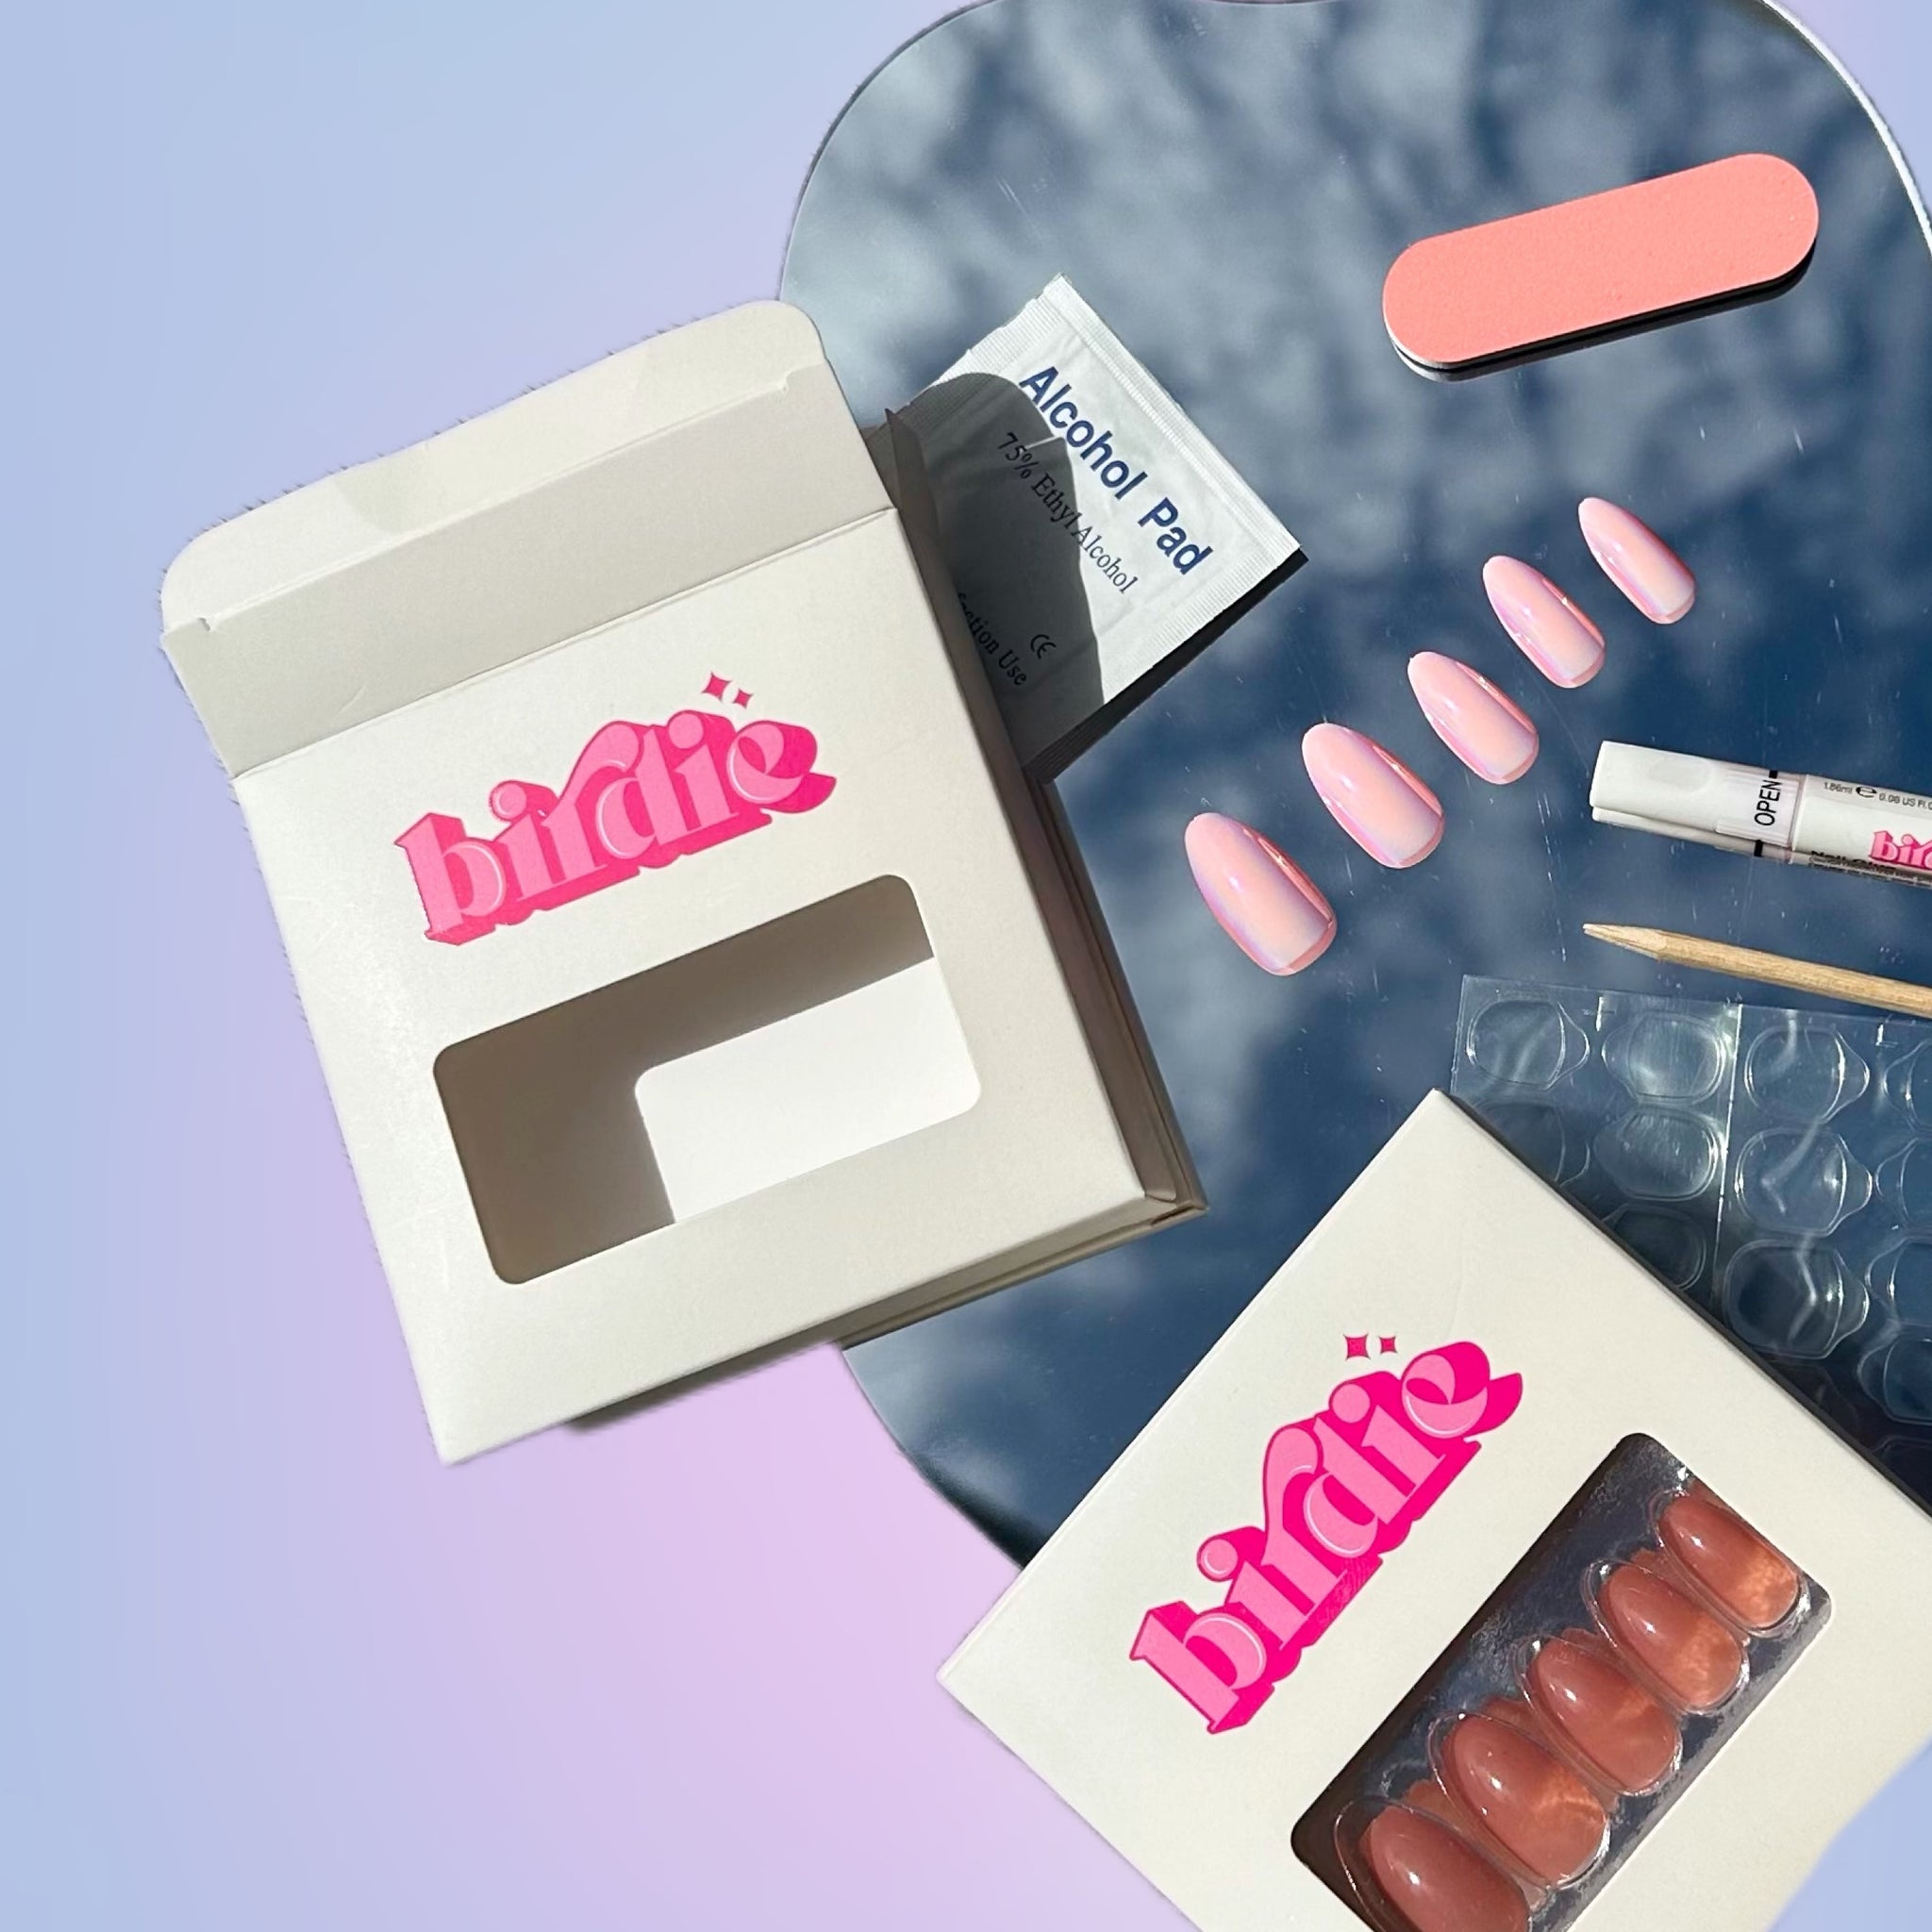
Every set comes with all the tools you need, so you can give yourself a professional-level manicure without ever leaving the house.
All it takes is 4 easy steps:
1. Prep
2. Apply
3. Remove
4 Resuse
1. Prep
The key to long lasting Birdie nails is all in the prep. Prepping your nails correctly is a must to help ensure your Birdie nails stay on as long as possible.
- Using the cuticle stick, start by pushing back your cuticles. This allows your Birdie nails to bond more easily with your natural nails’ surface
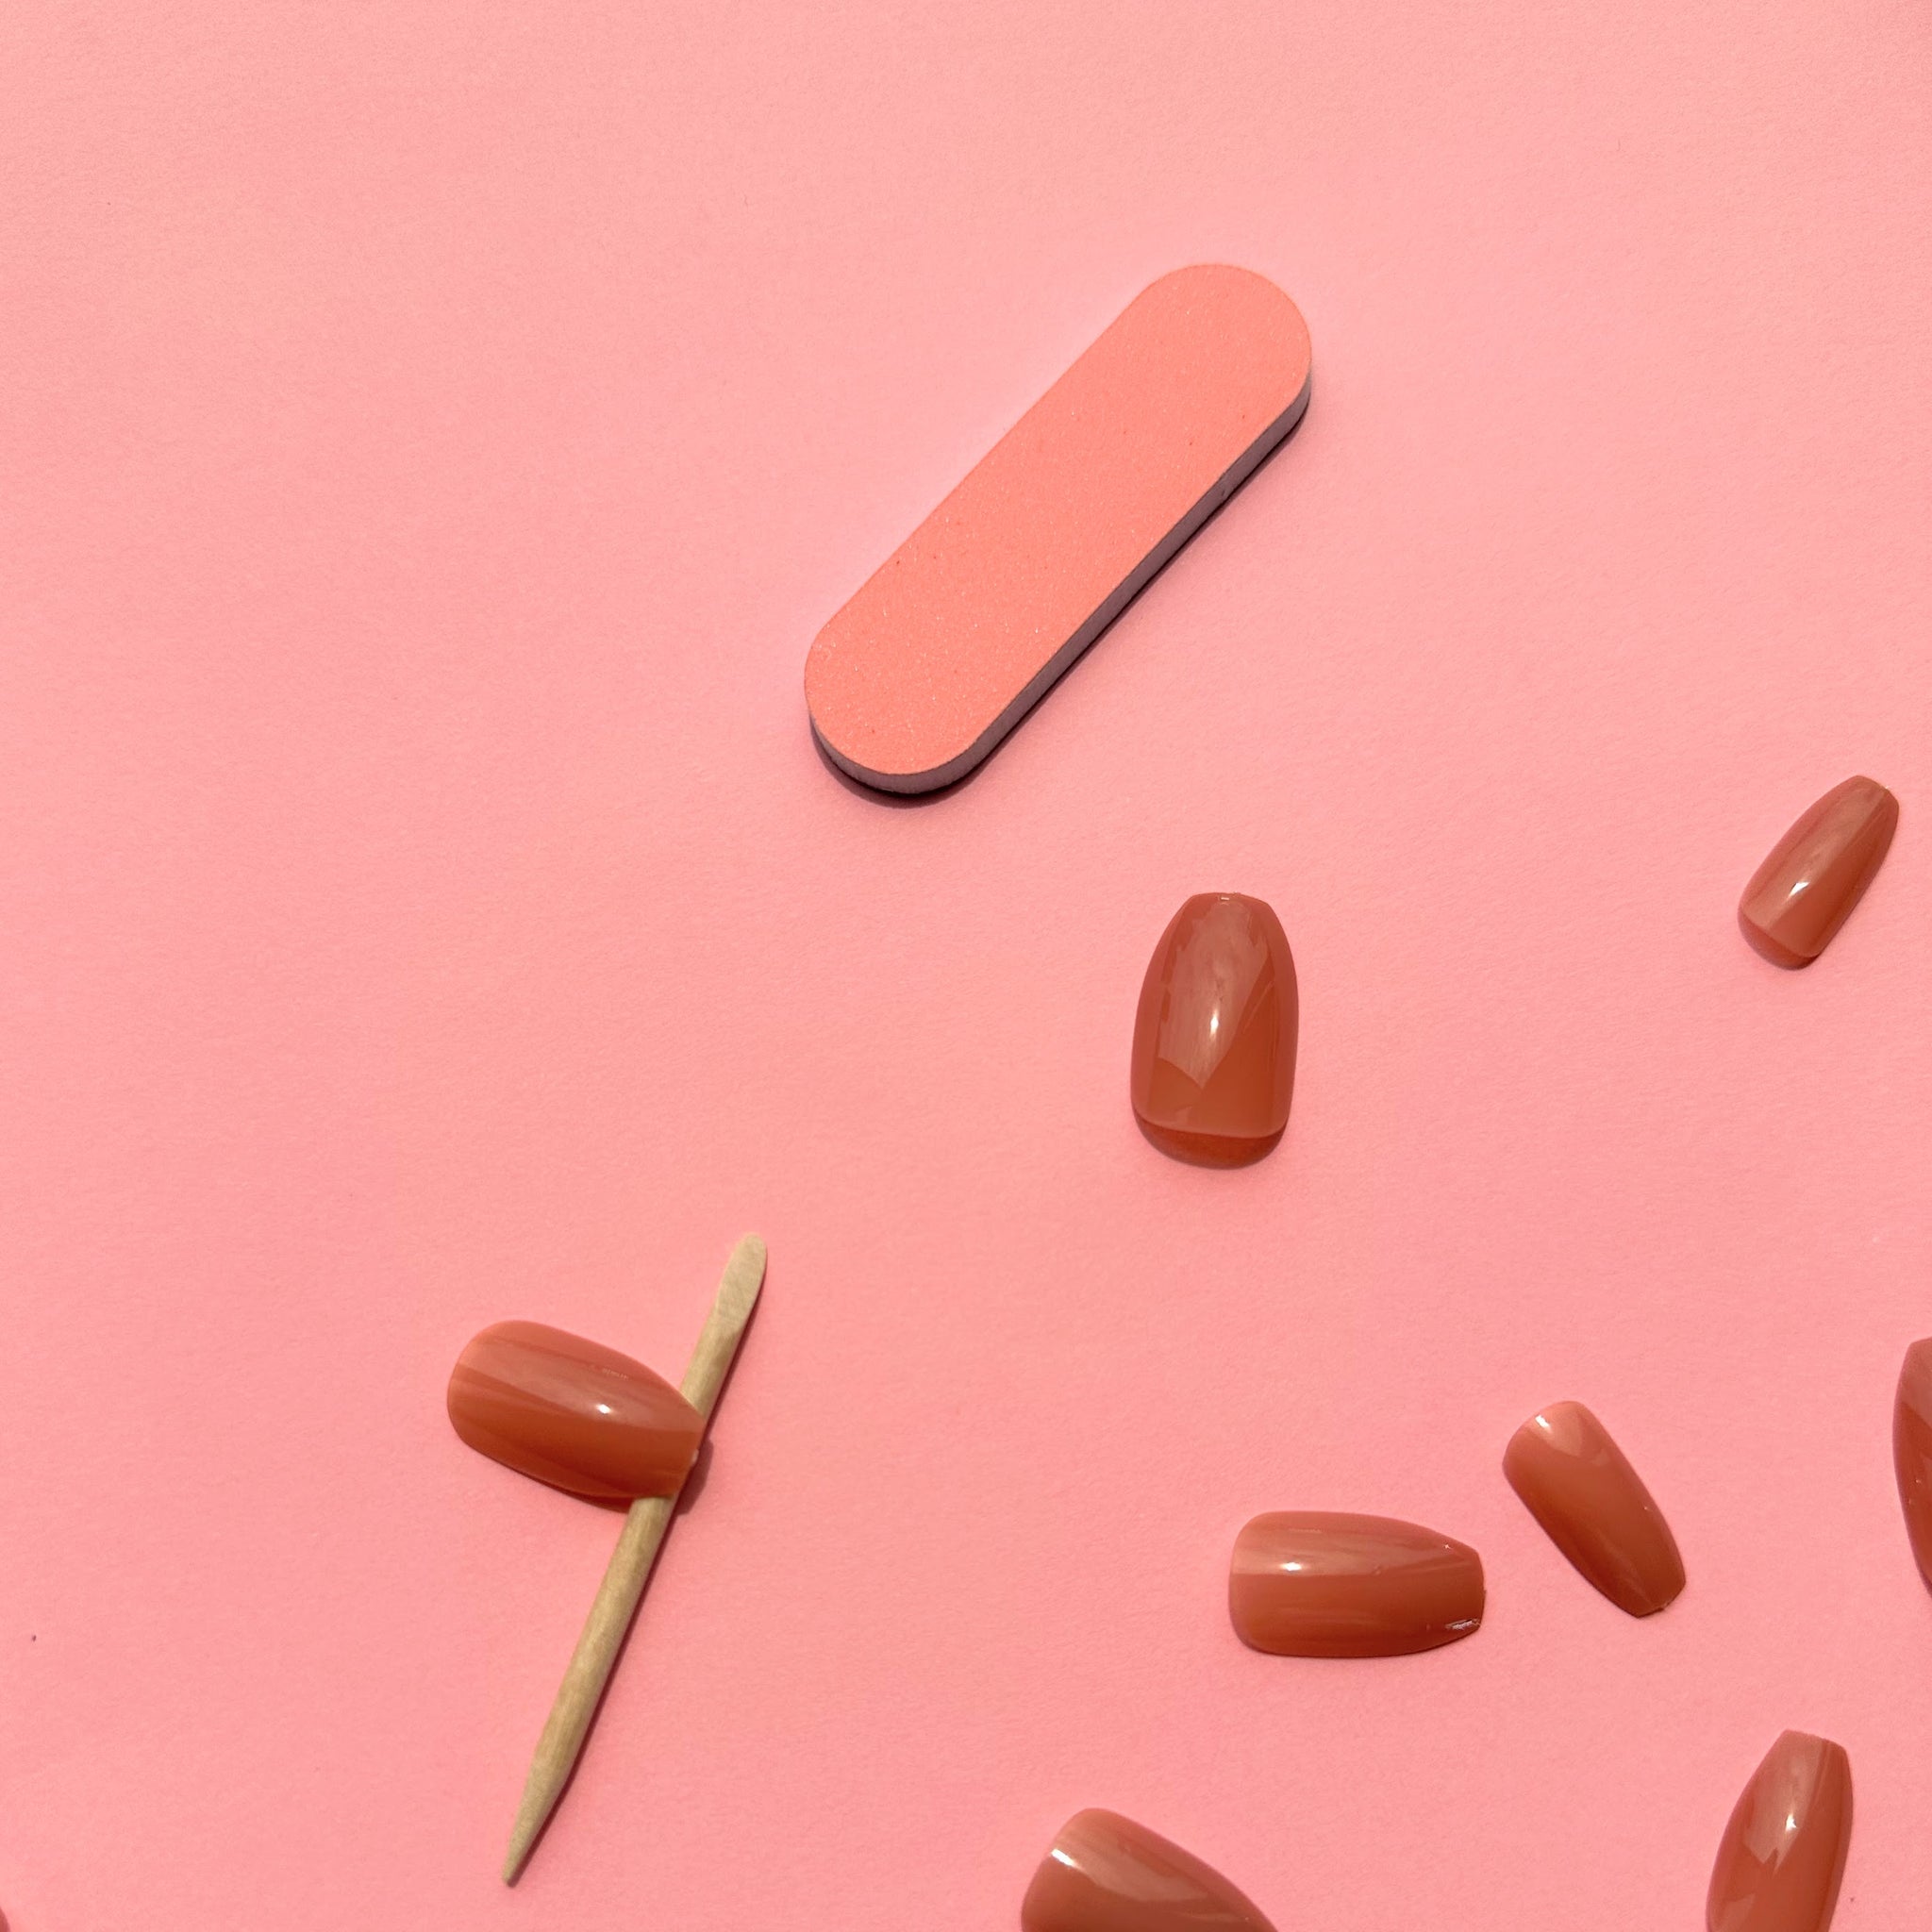
- Size your Birdie nails by placing them above each of your natural nails, and choosing the ones that fit best
- Lightly buff your nails using the nail filer. Pro tip: filing your nails in the same direction will help them last longer
- Clean your natural nails completely with the alcohol wipe. This will remove your natural oils which prevent the adhesive from doing what it does best! Pro tip: give the backside of your Birdie nails a little wipe as well to remove any dust.
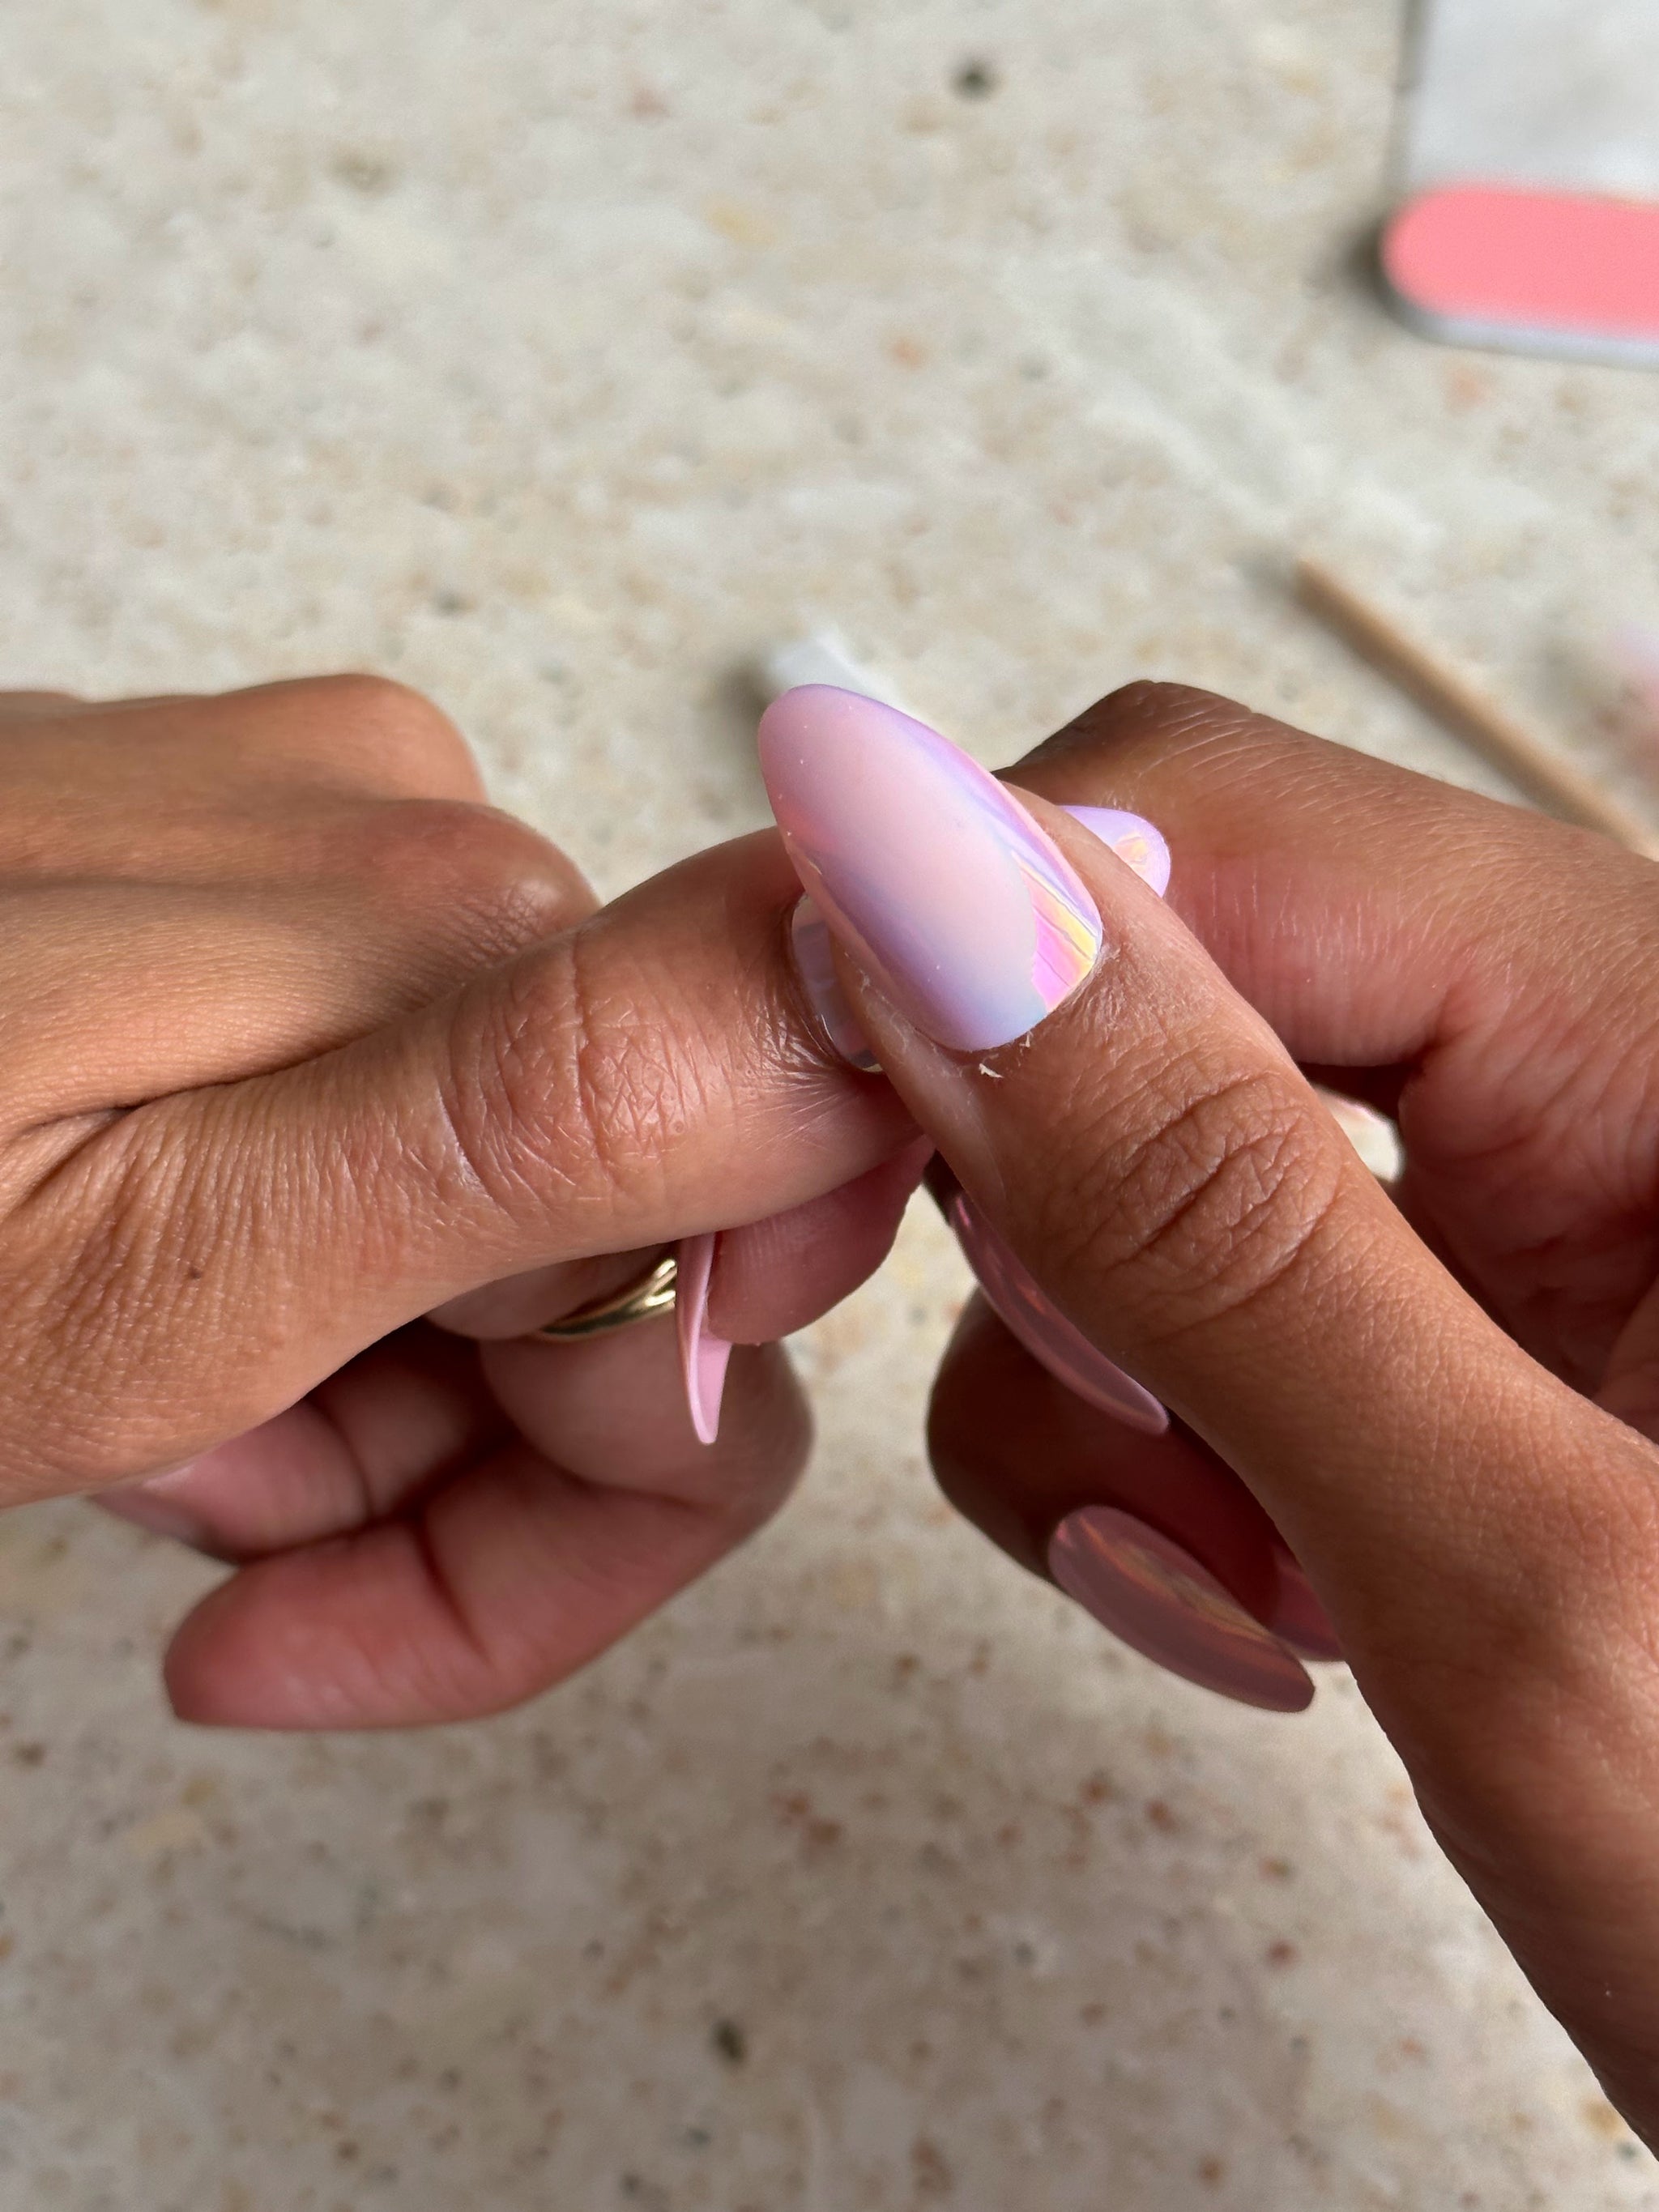
2. Apply
Each set comes with two options for application: Sticky Tabs (short-term wear), or Glue (long-term wear).
Sticky Tabs:
- Size the sticky tab that fits your natural nail the best, and apply adhesive. Pro tip: choose sticky tabs that are slightly smaller than your natural nail bed for a cleaner finish!
- Apply Birdie nail at a 45 degree angle and press down firmly for 20-30 seconds. Make sure you remove all air bubbles!
Glue
- Working one nail at a time, apply a pea sized amount of nail glue on your natural nail, and on the back centre of your Birdie nail. (Be super careful not to touch the glue with your fingers, as it bonds quickly!)
- Apply Birdie nail at a 45 degree angle and press down firmly for 20-30 seconds. Make sure you remove all air bubbles!
3. Remove
For your Birdie nails to be 100% reusable we recommend letting them fall off naturally. However, if you’re in a pinch and need to remove them, just follow the steps below:
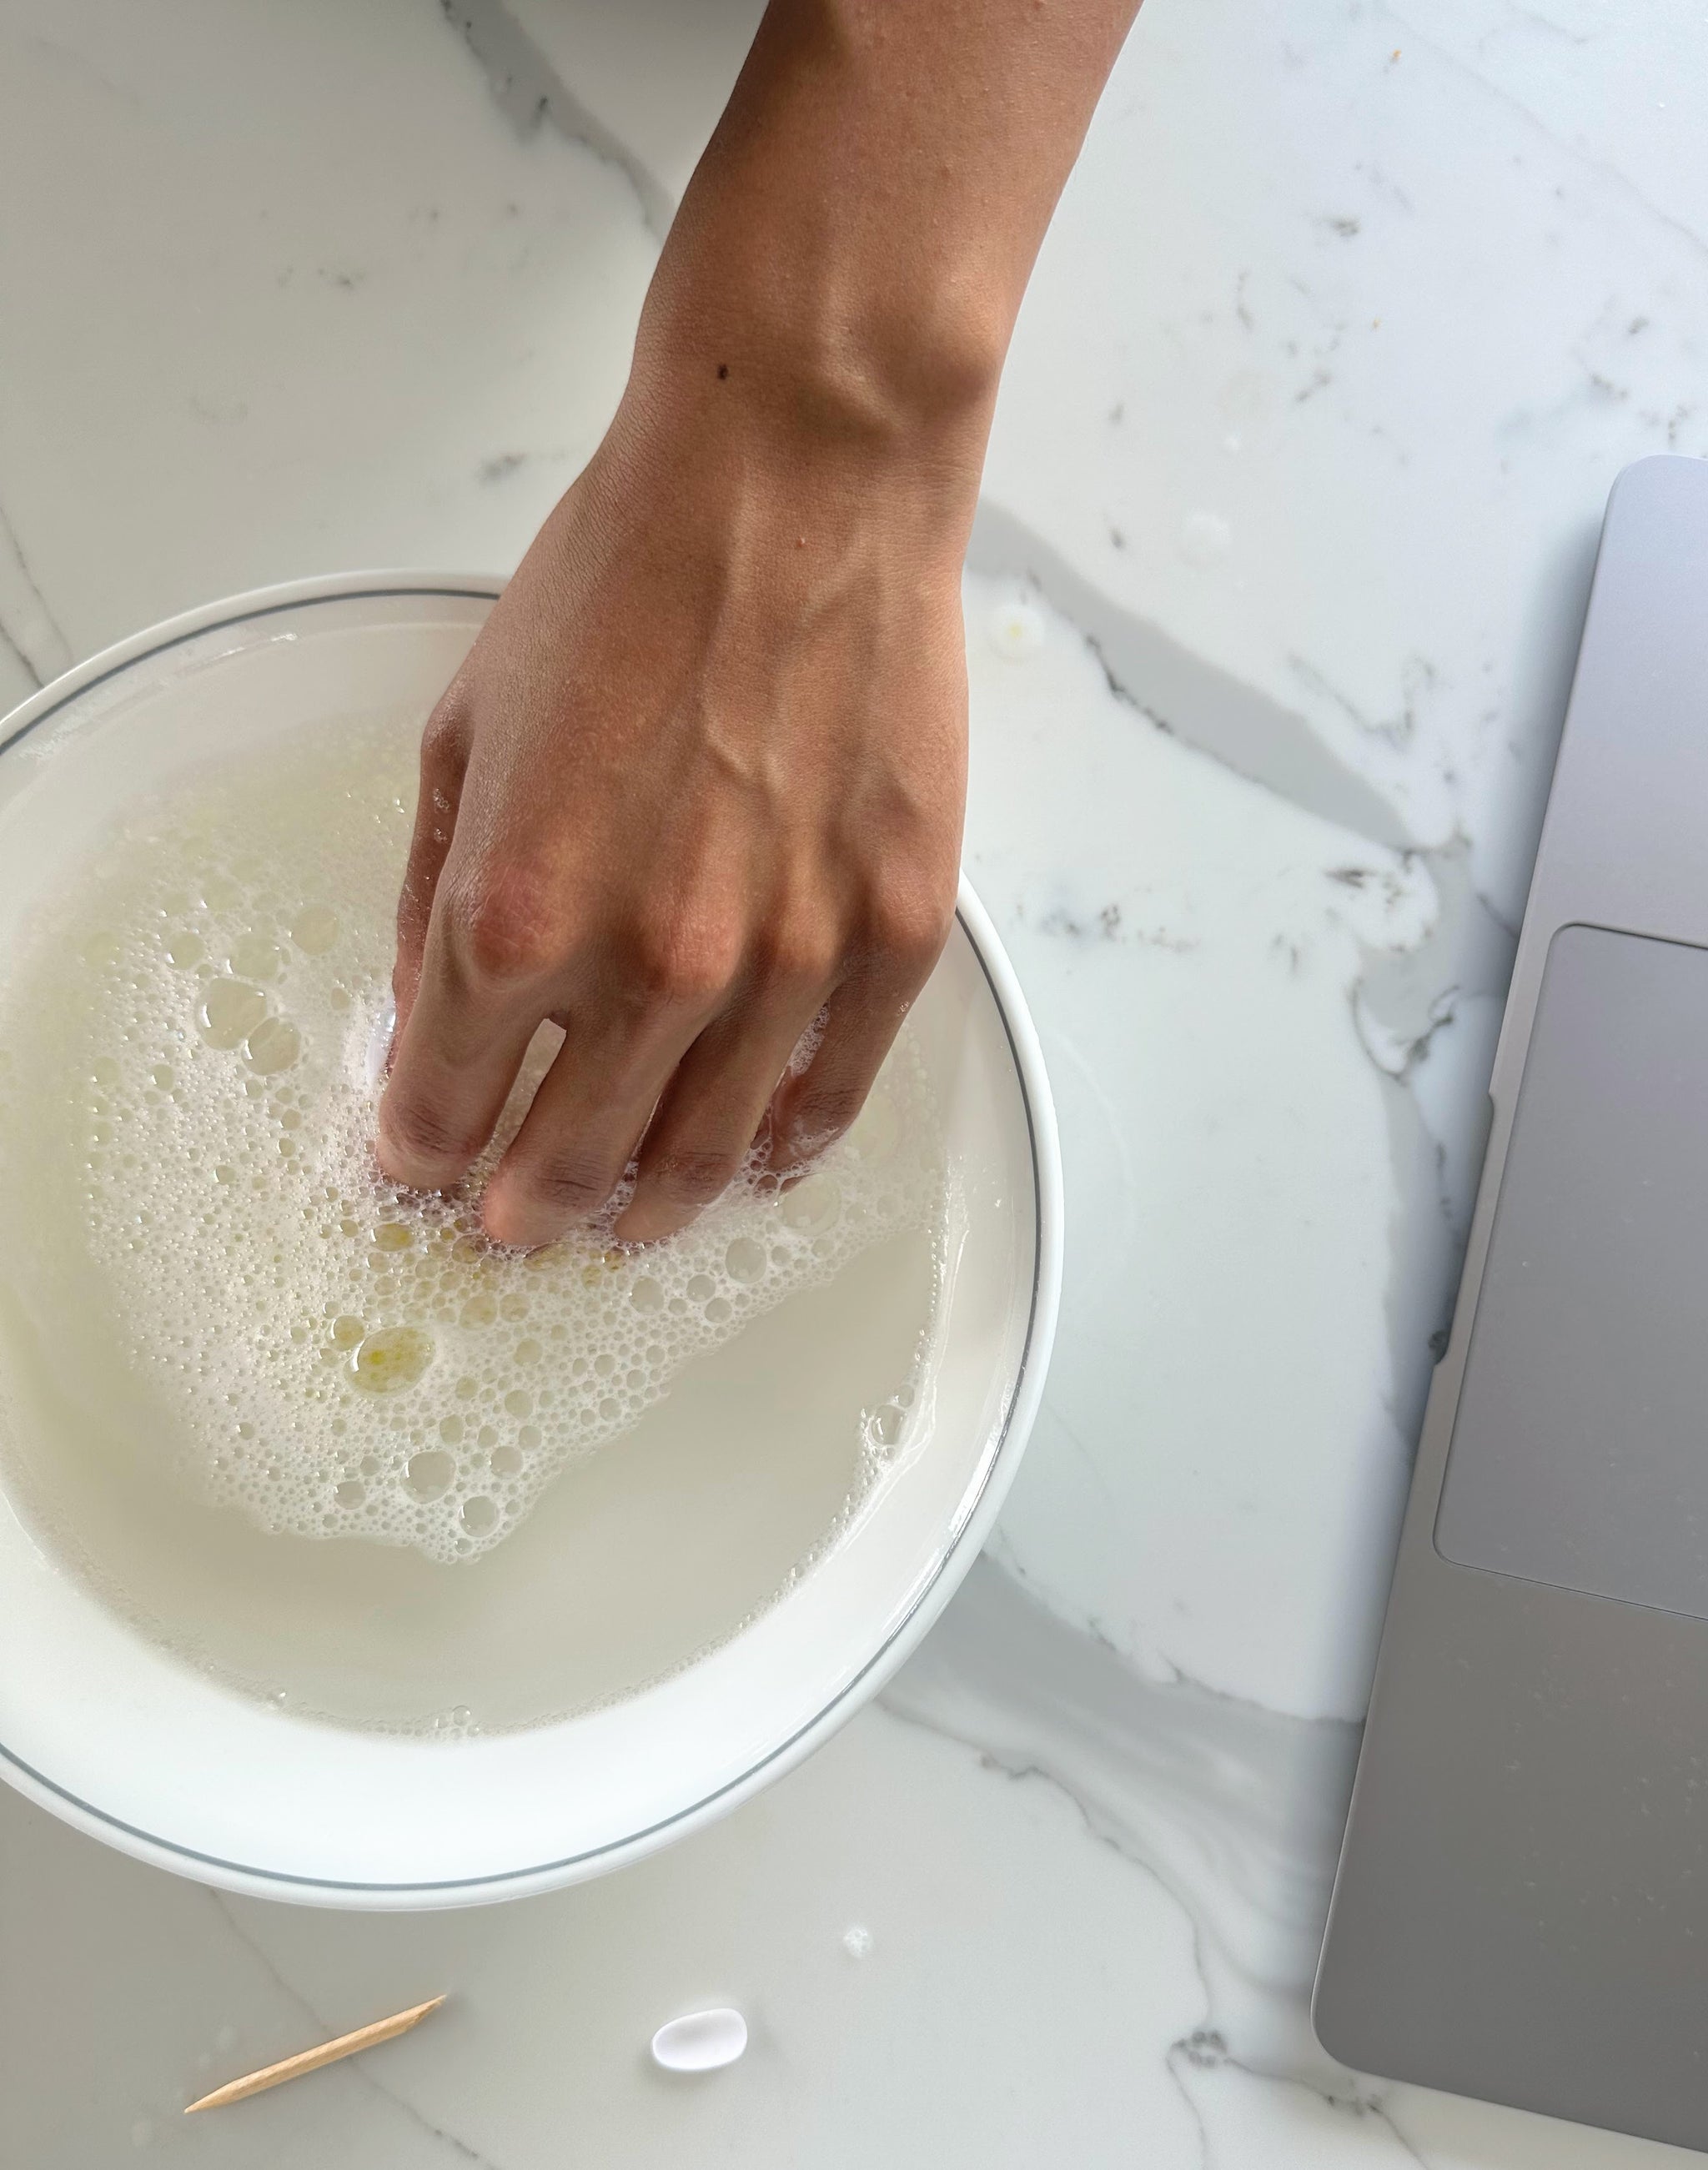
- Soak hands in warm water with soap or oil to loosen the glue.
- Prep your skin and nails with any oil you have lying around the house, to further help loosen the glue around the edges. Olive or Coconut oil work great!
- Once you begin to feel the glue soften, use the cuticle stick provided to gently unstick the edges and tip of your Birdie nail. Your Birdie nail should easily pop off from here.
- Remove any excess glue from your natural nail by buffing and/or with acetone if needed.
- Remove any residual glue on your Birdie nail, and place them back in your Birdie box for next time’s use!
4. Reuse
To prep your Birdie nails for reuse, soak the worn press-ons in a bowl of warm soapy water for 5-10 minutes. This will help break down any leftover glue. Remove the press-ons from the water and dry.
Take your nail file and lightly buff off any remaining glue from the backside of the Birdie nail. Repeat steps as needed.
Then, tuck them away nice and safely in your Birdie Box. Now, your nails are good to go to worn again (and again!).